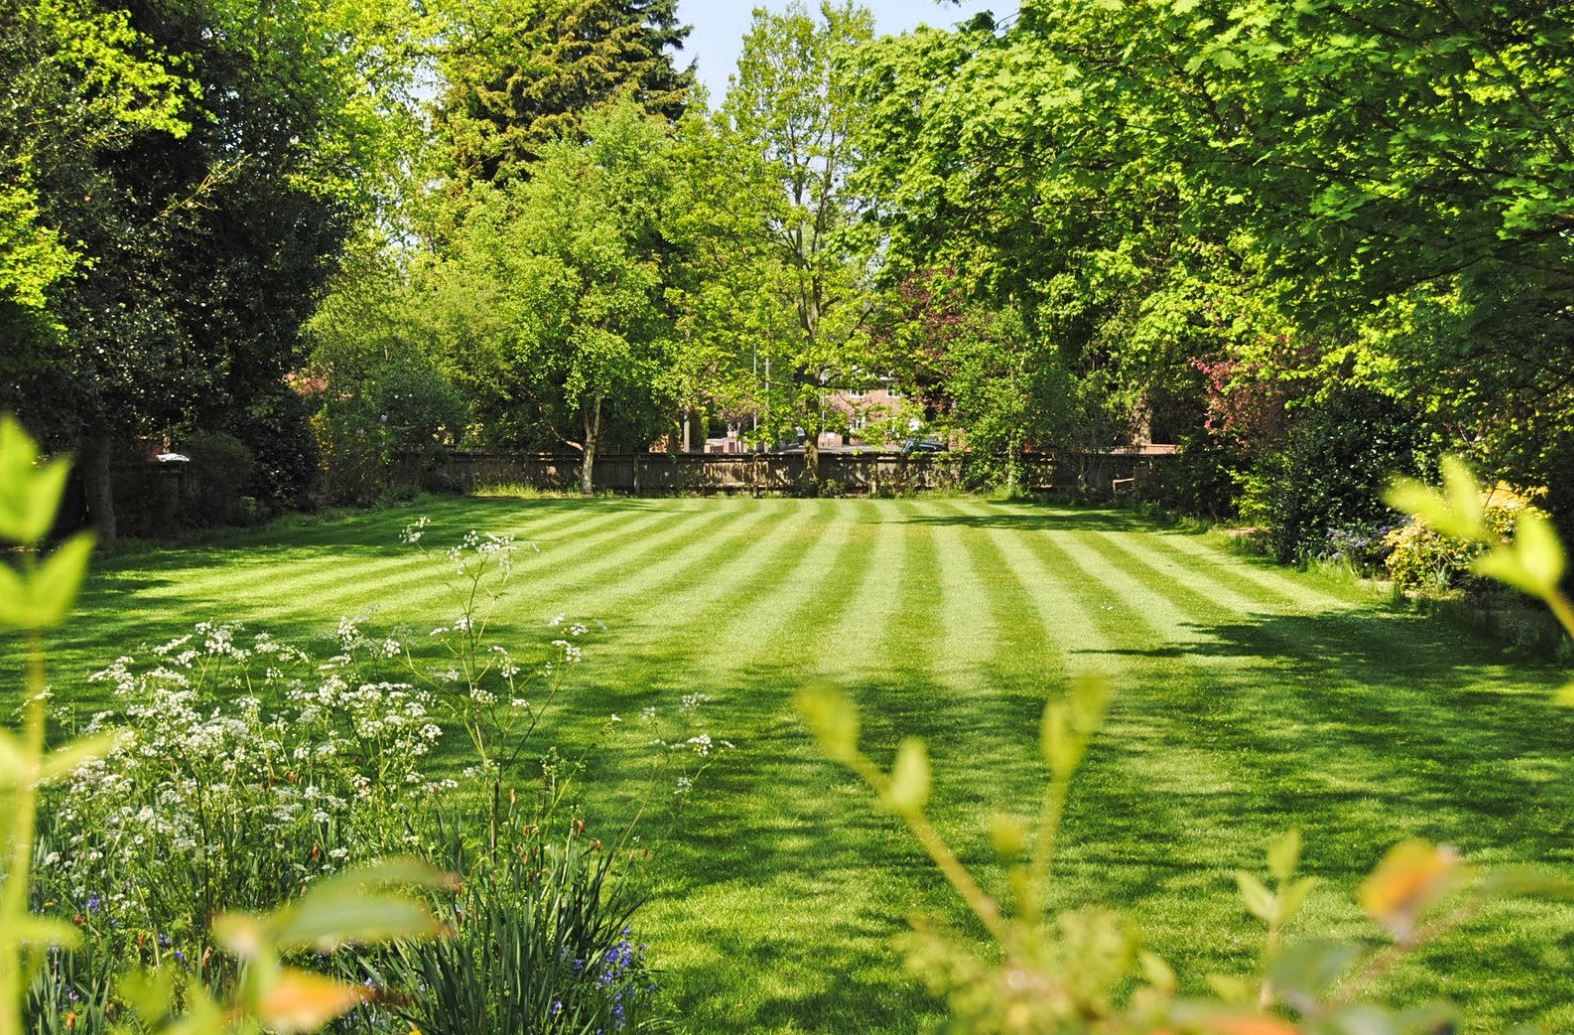
A yard project is exciting right up until you realize you do not actually know what happens first. The landscape installation process feels a lot easier once you can see the order of it, from the first walk-through to the final watering instructions, and that is exactly what this guide covers.
What you'll need before the project starts
Before anybody measures, sketches, or starts talking about pavers and plant lists, get a few basics straight. That early prep saves time and keeps your first conversation focused. It also helps you avoid the classic problem where a simple front-yard refresh turns into a giant wish list with no clear direction.
A short list of priorities
Start by deciding what matters most. Maybe your front yard needs better curb appeal. Maybe the real issue is a backyard that stays soggy for two days after every rain. Maybe you want a patio where you can actually sit on a July evening instead of staring at patchy grass from the kitchen window.
Write down your top priorities in plain language. Keep it short and honest. If privacy matters more than flower color, say that. If low maintenance beats having a perfect lawn, put that near the top. That one small list acts like a filter, which is helpful when new ideas start piling up.
Property details and access notes
Next, gather what you already know about your property. Notice where the yard slopes, where water collects, which areas get full sun, and where grass struggles. If your lot has a steep grade or a narrow side yard, mention it early. In older Pittsburgh neighborhoods, that one detail can change how materials get delivered and what equipment can fit.
A quick property sketch helps, even if it is rough. Mark fences, gates, patios, steps, large trees, and utility boxes. The goal is not perfection. The goal is to walk into the project with fewer surprises.
Budget, timing, and must-keep features
Set a comfortable budget range before design work gets too far. Not a vague “something reasonable,” but an actual range that helps narrow choices. Material selections, project size, and phasing all get easier once money is on the table.
Timing matters too. If you want the work done before a graduation party, before winter, or before the ground turns to soup in spring, say so upfront. Also flag anything you want to keep, such as a mature maple, an existing stone step, or a section of lawn the dog uses every day. Early clarity here prevents expensive backtracking later.
Step 1: start with an on-site consultation
The on-site consultation is where your project stops being a loose idea and starts becoming a real plan. Walking the property in person matters because yards always reveal things that photos miss, especially drainage, elevation changes, and awkward corners.
- Schedule a visit when you can walk the whole space without rushing.
- Bring your priority list, budget range, and any inspiration photos you have saved.
- Walk the yard from front to back and point out what feels wrong, underused, or frustrating.
- Explain what success would look like for you once the project is done.
Checkpoint: by the end of this visit, you should feel like your goals were understood in practical terms, not just in pretty-picture terms.
Share how you want the space to feel and function
Use everyday language. You do not need design vocabulary. Say you want a cleaner front entry, a patio for family dinners, or a backyard that stops turning into a mud pit after storms.
Function comes first. A beautiful yard that still floods near the steps or leaves you with hours of upkeep every weekend is a bad deal. If you describe how you want to use the space, better design decisions follow naturally.
Point out problem spots right away
Do not save the bad news for later. Show every soggy corner, bare patch, erosion line, and worn shortcut across the grass. If the side yard bakes in late-afternoon sun or a downspout dumps water next to the foundation, mention it.
Specifics help. “This corner stays wet for two days after rain” is far more useful than “drainage is not great.”
Talk through maintenance expectations
Be honest about how much yard work you want to do. If you love gardening, that affects plant choices. If you want something tidy that does not ask much from you, that changes the plan too.
The trick is simple: choose a landscape you can actually maintain. That usually means balancing lawn size, planting bed depth, mulch coverage, and plant variety in a way that fits your routine.
Step 2: review the site conditions and existing yard
This part happens behind the scenes, but it shapes everything. Site conditions simply mean what your yard is doing right now, day to day. Water movement, soil type, sun exposure, and access all affect what can be built and how long it will last.
- Walk the property and note slope changes and low areas.
- Identify downspouts, runoff paths, and drainage trouble spots.
- Observe sun and shade patterns in key planting areas.
- Check access points for crews, tools, and materials.
Checkpoint: once site conditions are reviewed, the project should start to feel grounded in reality, not just inspiration photos.
Check grading, drainage, and water flow
Drainage is not a side issue. It protects the rest of the investment. If water runs toward your house, pools near a patio, or washes mulch downhill, those problems need attention before decorative pieces go in.
Grading means adjusting the slope of the ground so water moves where it should. That can include reshaping low spots, tying in downspouts, or planning drains and swales. It is not glamorous, but it is often the difference between a yard that works and one that keeps disappointing you.
Evaluate soil, sun, and plant conditions
Soil quality and sunlight affect almost every plant recommendation. Areas with heavy clay, compacted soil, or shallow root competition from old trees behave very differently from open, sunny lawn areas.
This is also the moment to look at existing plants honestly. Some are worth saving. Some are overgrown, struggling, or simply in the wrong place. Holding onto every old shrub just because it is there can limit the whole plan.
Measure access for crews and materials
Access sounds boring until a crew tries to move stone into a fenced backyard through a 34-inch gate. Driveways, sidewalks, retaining walls, side yards, and overhead wires all matter. A backyard in Mt. Lebanon can be a lot harder to reach than a wide suburban lot, and that affects labor, staging, and scheduling.
Step 3: turn ideas into a landscape design plan
Now the rough ideas become something you can react to. This is the paper stage, but it matters because changing a drawing is easy. Changing a half-built patio is not.
- Translate priorities and site conditions into a rough layout.
- Place major features where they fit and function best.
- Select materials and plant styles that match the look and upkeep you want.
- Review the draft and request revisions before anything is ordered.
Checkpoint: you should be able to picture how you will move through the yard and use each area.
Map out the major features
Think of the design plan as the floor plan for your yard. It shows where patios, walkways, planting beds, lawn areas, retaining walls, drainage features, and lighting will go.
Good layouts feel natural. Paths make sense. Patios connect cleanly to doors. Beds soften edges instead of blocking movement. This is where the project gains structure.
Choose materials and plant styles
Material choices do more than change the look. They affect maintenance, durability, and budget. The same goes for plant selections. Neat evergreen structure gives a very different feel from loose, colorful perennial beds.
The best choices feel consistent, not random. Stone, edging, mulch, lawn, and plant forms should look like they belong together, the way a well-furnished room does.
Review the plan and make revisions
Look closely before the project moves ahead. Ask yourself if traffic flow makes sense, if bed sizes feel right, and if maintenance still matches your lifestyle. Small revisions here are normal and useful.
This is the time to catch second thoughts. Once materials are approved and installation gets scheduled, changes become slower and more expensive.
Step 4: finalize the scope, estimate, and schedule
Once the design is approved, the project shifts from ideas to logistics. This is where expectations need to become very clear.
- Review the written scope of work line by line.
- Confirm pricing and any allowances for materials or plant quantities.
- Go over the projected schedule and project phases.
- Check for permits, approvals, and items that may affect timing.
Confirm exactly what is included
A written scope should spell out what is being done, not just the general concept. That includes demolition, grading, drainage, hardscaping, planting, lawn work, and cleanup.
Here is the catch: assumptions cause headaches. If something matters to you, make sure it appears in writing.
Set realistic timing and sequencing
Landscape work has an order for a reason. Grading and drainage usually happen before planting. Base prep comes before patios. Lighting sleeves and irrigation lines need to go in before finished surfaces close everything up.
Even smaller projects can take longer than expected if access is tight or weather turns ugly. Realistic sequencing keeps the job from feeling chaotic.
Review permits, approvals, and material lead times
Some projects need municipal approvals, especially for walls, drainage changes, or larger structural work. HOA rules can also slow down the calendar. Then there are special-order materials, which can take longer than anybody wants.
If you know these factors early, delays feel less like surprises and more like normal planning.
Step 5: prepare the property for installation day
Installation day goes better when the site is ready. A little prep on your side can make the first workday smoother and safer.
- Confirm utility marking and note irrigation or low-voltage lines.
- Move vehicles, furniture, planters, and portable items from work areas.
- Clear access paths to gates, yards, and staging spots.
- Expect deliveries, equipment noise, and temporary disruption.
Checkpoint: by the day work starts, the crew should have room to move without weaving around avoidable obstacles.
Mark utilities and protect existing features
Underground utilities need to be identified before digging starts. Existing trees, fences, AC units, and other features that are staying should also be protected.
This prep prevents the kind of surprise nobody wants, especially when excavation begins.
Clear work zones and access paths
Move anything that could get in the way, including patio furniture, grills, potted plants, sports gear, and vehicles near access routes. A clean path saves time and reduces the chance of damage.
If a backyard is only reachable through a side gate, every inch matters.
Expect some temporary mess and noise
Landscape installation is construction. You will likely see soil piles, stone deliveries, equipment tracks, and dust. For a short stretch, your yard may look worse before it looks better.
That part is normal. Mess during the middle does not mean the job is off track.
Step 6: begin site prep, demolition, and grading
This is the first visible construction phase, and it can feel dramatic fast. Old materials come out, surfaces change, and the yard starts looking like a work zone.
- Remove outdated or failing features that conflict with the plan.
- Demolish worn hardscape, edging, sod, or overgrown plantings as needed.
- Regrade the site for drainage and stable construction.
- Install drainage components before finish materials go in.
Remove what is in the way
Sometimes the fastest way to fix a yard is to stop building around old problems. That can mean tearing out tired shrubs, uneven patios, failing borders, or lawn that never had a chance.
It may feel strange to see familiar pieces disappear, but clearing the site creates room for better function.
Reshape the ground for drainage and stability
Grading adjusts slope so water drains properly and built features have a stable base. It also helps correct low spots, awkward transitions, and areas that never dried out.
This step matters more than almost anything else in the landscape installation process. If the ground is wrong, the finish work will eventually show it.
Install drainage solutions early
If your yard has standing water, drainage fixes should happen before patios, mulch, and planting beds cover everything up. That can include drains, pipes, catch basins, swales, or runoff controls.
This is where the real fix begins, not when fresh mulch goes on top.
Step 7: build the hardscape and structural features
Now the yard starts looking real. Patios, walkways, steps, walls, and edging begin to define the space.
- Excavate to the required depth for each feature.
- Install and compact the base materials properly.
- Build hardscape features to the approved layout.
- Add lighting, irrigation, or sleeves before final surfaces are closed.
Prep the base the right way
Base prep sits underneath the finished surface, but it decides how that surface performs. Pavers, stone, and walls need proper excavation depth and compacted support.
Think of it like the subfloor under tile in a bathroom. If the layer underneath is sloppy, the top will eventually show it.
Install patios, walkways, steps, and walls
This part can look slow from the street because careful layout and leveling take time. But this is where the yard gets its structure and flow.
Patios need consistent base support. Walkways need smooth transitions. Steps and walls need alignment and stability. Precision here pays off every day you use the space.
Add lighting, irrigation, or other infrastructure
Low-voltage lighting, sleeves under walkways, and irrigation lines are easier to install before the final finish is complete. Doing it now avoids tearing up new work later.
If evening use, easier watering, or future flexibility matters to you, this phase is worth close attention.
Step 8: prepare soil and install plants, lawn, and finishing details
Once the hardscape bones are in place, the softer parts of the yard come together. This is where the space starts feeling finished instead of just built.
- Loosen and improve soil in planting areas.
- Install trees, shrubs, and perennials with proper spacing.
- Add sod or seed where lawn areas are planned.
- Finish with mulch, edging, and other cleanup details.
Improve the soil before planting
Healthy soil gives roots a better start. Beds may be loosened, shaped, or amended so water drains better and roots can spread.
You will not really see this once the project is done, but you will notice the difference later in plant performance.
Place trees, shrubs, and perennials
Plants should be set with mature size in mind, not just how full they look on day one. That means giving shrubs room to grow and placing trees where roots and canopy will make sense long term.
A good planting layout looks balanced now and better later. Crowding for instant fullness usually backfires.
Install sod, seed, mulch, and bed edging
Fresh sod or seed finishes lawn areas, while mulch helps hold moisture and gives planting beds a cleaner look. Crisp edging sharpens the lines between lawn and beds.
These final touches do a lot of visual work. They make the whole yard feel intentional.
Step 9: walk the finished project and learn the care plan
Once installation wraps up, do not treat the project like a sealed box. The final walkthrough matters because this is when you confirm details and learn how to care for everything while it settles in.
- Walk the completed yard and inspect the layout and finish work.
- Test drainage and note how surfaces and beds look after cleanup.
- Get watering and maintenance instructions for plants and lawn.
- Review warranty coverage and follow-up expectations.
Do a final walkthrough
Walk the project slowly. Check plant placement, patio edges, transitions, drainage points, and cleanup. Look at the work from the driveway, the front walk, the back door, and any place you will use often.
If something needs adjustment, this is the best time to catch it.
Get watering and maintenance instructions
New landscaping still needs early care. Plants, sod, and freshly finished beds all have an establishment period. Watering schedules matter a lot in those first weeks.
New landscaping is a little like new paint. It looks finished, but it still needs the right early conditions to hold up well.
Understand warranty and follow-up expectations
Know what is covered, how long correction windows last, and what follow-up support looks like. That includes plant replacement policies, hardscape concerns, and who to contact if something settles or shifts.
Clear expectations make post-project questions much easier.
Common issues that can slow down the landscape installation process
Even a well-planned project can hit a few bumps. The trick is knowing what is normal and what needs quick communication.
Weather delays and muddy site conditions
Heavy rain can pause excavation, grading, and lawn work. Saturated soil is harder to shape properly and easier to damage with equipment. In Western Pennsylvania, the forecast can change fast, and that changes the week fast too.
Material shortages or substitutions
Sometimes a specific paver, stone, or plant is unavailable when the job is ready to move. In that case, quick approval on a suitable alternative can keep the schedule from drifting.
Change requests after work begins
Mid-project changes almost always affect cost and timing. Even small swaps can ripple outward if materials were already ordered or sequencing has to change. That is why getting the design right on paper matters so much.
What you can expect when it is all done
When the project is finished, the biggest difference is not just how the yard looks. It is how it works.
A cleaner, more usable outdoor space
You should notice better flow, stronger curb appeal, and fewer frustrating spots. Maybe the front entry finally feels polished. Maybe the backyard is easier to enjoy after rain instead of harder.
A good result feels obvious the first time you use it.
A short settling-in period
Some minor settling is normal. Soil can shift a bit, mulch may need touching up, and new plants need time to adjust. Finished does not always mean fully settled on day one.
That is not a flaw. It is part of how outdoor projects come together over the first few weeks.
Your next step: try one simple check
After the next solid rain, walk your yard and pay attention. Notice where water moves, where it lingers, and how the new layout feels under real conditions. That one simple check tells you a lot, and it is the best way to see how well the whole process came together.
- Disclaimer: This article is for general informational purposes only. It is not professional advice, a quote, or a service agreement. Conditions at your home or property may differ; contact a qualified professional for an on-site evaluation before making repair, safety, or spending decisions.
Disclaimer: This article is for general informational purposes only. It is not professional advice, a quote, or a service agreement. Conditions at your home or property may differ; contact a qualified professional for an on-site evaluation before making repair, safety, or spending decisions.