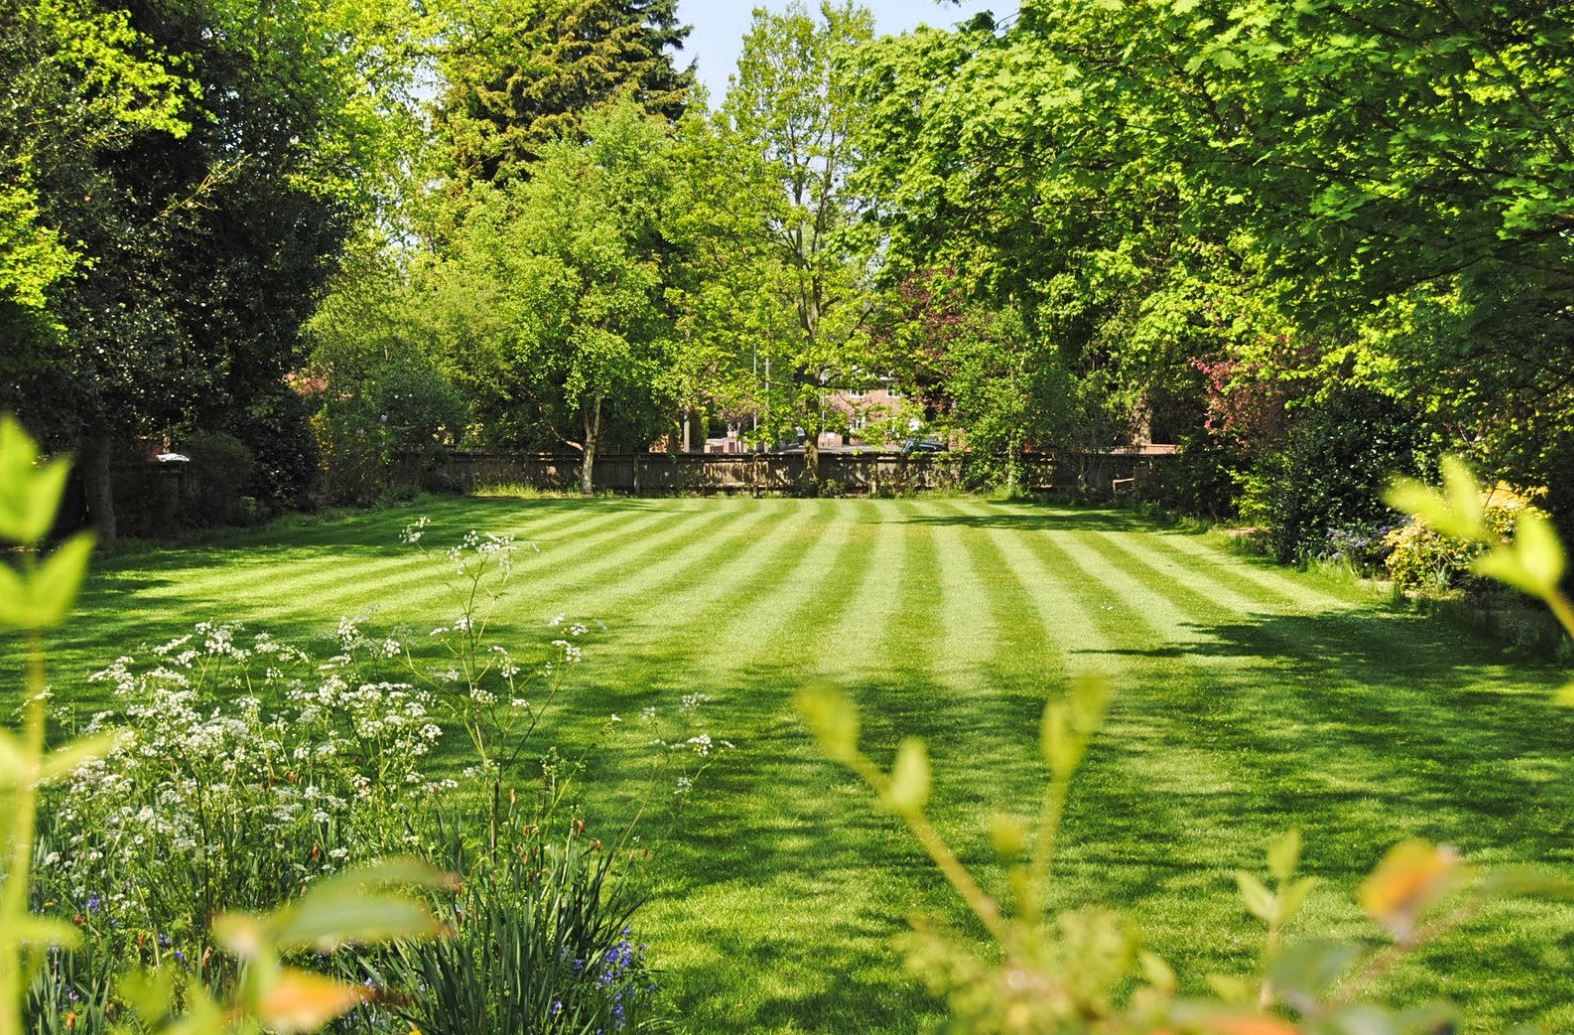
If the phrase landscaping design process sounds a little vague, that’s normal. Most yards do not start with a polished master plan in your head, they start with a problem: a soggy side yard, a front entry that feels flat, or a backyard in Pittsburgh that somehow never gets used even when the weather is perfect. This walkthrough shows you what usually happens from the first conversation to the final plan, so you know what to expect before the trucks ever pull in.
What you can expect before the design work starts
The landscaping design process usually begins long before any sketch, plant list, or patio material gets picked. It starts with getting clear on what is bothering you, what you want your property to do better, and what kind of investment feels realistic.
At this stage, the goal is not to have every answer. The goal is to replace vague ideas with useful direction. Maybe you know you want more privacy, cleaner curb appeal, better drainage, and less lawn to mow. That is enough to start.
You can also expect some plain talk early on. A good design process should make your options easier to understand, not more confusing. If your yard has a steep grade, heavy shade, standing water after storms, or tight access between houses, those things shape the plan from day one. Around places like Mt. Lebanon, Sewickley, and Cranberry Township, those site conditions are not unusual. They are just part of the real work.
What you'll need before you start
Before Step 1, gather a few basics so the process moves faster and the early conversations stay grounded.
- Write down your main goals for the space.
- Pick your top priorities in order.
- Gather a rough budget range.
- Save a few inspiration photos.
- Pull together any property details you already have.
You do not need a formal packet. A note on your phone, a folder of screenshots, and a rough idea of timing can go a long way.
Your wish list, priorities, and pain points
Start with what is not working. Maybe the front beds look sparse, the patio feels too small, the lawn stays wet, or the backyard has no clear place to sit. Pain points are useful because they turn frustration into direction.
Then make a wish list. Keep it simple: better curb appeal, outdoor dining, lower maintenance, safer steps, privacy from a nearby road, room for a dog, cleaner edges, more seasonal color. After that, rank everything. If you put every idea at the same level, the plan gets muddy fast.
Photos, measurements, and property information
Photos help more than most people expect. Wide shots of the whole yard, close-ups of problem spots, and a few views from inside the house all help connect the outdoor plan to daily life.
If you have a survey, lot plan, or old drawings, keep those handy. Basic measurements help too, even if they are rough. Include known trouble spots like water pooling near a foundation, a steep slope behind the garage, or a side yard where nothing seems to grow.
Budget and timing expectations
A budget range is not about boxing you in. It helps shape a plan that can actually be built. a wide repair range that can reflect minor fixes versus major component work project and a wide repair range that can reflect minor fixes versus major component work project can both look great, but they get there in very different ways.
Timing matters too. If you want work completed by a graduation party in late May, say that early. If you are fine phasing the project over time, that helps just as much. Checkpoint: once you have goals, site info, and a rough budget, you are ready for the first real meeting.
Step 1: schedule the initial consultation
The initial consultation is where your loose ideas start becoming a real project.
- Book a consultation and share the basics of your property.
- Explain what you want to improve first.
- Walk through how you use, or want to use, the space.
- Discuss style preferences and must-haves.
- Ask what the design process looks like from there.
Success at this stage looks simple: you leave with a clearer picture than you had going in.
Talk through how you want the space to feel and function
This matters more than people think. A yard is not just a picture, it is part of your routine. If you want a quiet place for coffee, room for kids to run, space for summer dinners, or a front entry that feels polished year-round, say that plainly.
Function drives smart design. A patio for four needs something different than a patio for twelve. A low-maintenance front yard needs a different plant plan than a garden you want to fuss over on Saturday mornings.
Share inspiration without needing all the answers
You do not need a perfectly defined style. A few saved photos are enough. Maybe you like clean stone steps, layered foundation plantings, black mulch, natural boulders, or a backyard that feels more like an outdoor room than an open field.
Short descriptions help too. “Clean and simple,” “lush but tidy,” or “less lawn, more usable space” can be surprisingly useful. The point is direction, not perfection.
Ask about services, timeline, and process
Use the consultation to understand what happens next.
- Ask how the site visit works.
- Ask what drawings or plans are included.
- Ask how many revision rounds are typical.
- Ask how design fees and installation costs are handled.
- Ask how long the process usually takes.
The trick here is simple: get the roadmap early so nothing feels mysterious later.
Step 2: have your property evaluated on site
This is where the landscaping design process stops being theoretical. Photos help, but standing in the yard tells the real story.
- Walk the property with the designer.
- Point out problem areas and favorite features.
- Review slope, drainage, sun, and circulation.
- Discuss what can realistically be built.
- Note any constraints that could affect the plan.
Checkpoint: after the site visit, your project should feel tied to your actual property, not a generic idea pulled from Pinterest.
Review grading, drainage, sun, and soil conditions
Grading is the way your land slopes. Drainage is how water moves through it. Both have a huge effect on what belongs where. A soggy low spot may need regrading, drainage work, or a different planting strategy before it ever becomes attractive.
Sun and soil matter just as much. Full sun near the driveway, dense shade under mature trees, clay-heavy soil, and deer pressure all shape the plant palette. In western Pennsylvania, drainage issues are common enough that they should never be treated like a small footnote.
Identify what stays, what goes, and what needs work
Not everything needs to be ripped out. Some existing trees add structure and value. A serviceable retaining wall may stay. A worn patio might be worth expanding rather than replacing.
At the same time, some features hold the whole yard back. Overgrown shrubs crowding windows, awkward bed lines, failing steps, or a patchy lawn in deep shade may need to go. Here’s the thing: deciding what stays is just as important as deciding what gets changed.
Notice access, utilities, and property constraints
This part is less exciting, but it saves headaches later. Equipment access, property lines, easements, septic areas, utility locations, and fence gates all affect design choices.
A gorgeous patio plan means less if materials cannot reach the backyard without tearing up half the property. Tight access is common in older Pittsburgh neighborhoods, and it can shape both design and construction methods.
Step 3: define your goals and design priorities
Once the site gets evaluated, your ideas need structure.
- List your must-haves.
- List your nice-to-haves.
- Match priorities to budget.
- Set a maintenance comfort level.
- Agree on the overall direction.
This step prevents the design from trying to do too much at once.
Separate must-haves from nice-to-haves
A must-have solves a real need. Better drainage, safer steps, privacy screening, usable seating, and front walk improvements often fall into this category. Nice-to-haves are the extras that add charm, like a water feature, decorative lighting upgrades, or a built-in fire feature.
There is nothing wrong with wanting both. But the order matters. Daily life comes first.
Match the design to your home and neighborhood
The best landscapes look like they belong. A sleek modern layout can look great with the right house and feel odd with the wrong one. A naturalistic planting style may suit a wooded lot beautifully but feel messy against a formal brick front.
Good design connects your home, your lot, and the surrounding setting. It should feel settled, not pasted on.
Set maintenance expectations early
This is one of the smartest conversations you can have. If you want crisp edges, tidy shrubs, and beds that look polished all season, plan for regular upkeep. If you want easier care, the design should reflect that through simpler plantings, tougher materials, and fewer fussy features.
A beautiful yard that becomes a weekend chore list is not a win.
Step 4: review the concept design
This is the moment the yard starts to feel real.
- Review the overall layout.
- Look at how spaces connect.
- Ask why key features are placed where they are.
- Compare the plan to your goals.
- Note what feels strong and what needs adjusting.
Look at the overall layout and flow
Pay attention to movement. How do you get from the driveway to the front door? From the kitchen door to the patio? From the patio to the lawn or garden? Good flow feels obvious once you see it, kind of like rearranging furniture so a room finally makes sense.
Look at the size of each zone too. A patio, path, planting bed, or lawn area should feel balanced with the property around it.
Understand focal points and function
Every strong design has features that anchor the space. That could be a front entry planting bed, a small seat wall, a fire pit area, a specimen tree, or a privacy planting along a busy street.
But those features should do something, not just sit there looking nice. A focal point with no function can end up feeling forced.
Check how the design fits the way you live
Ask yourself a plain question: can you actually use this? Is there enough room to pull out chairs? Will the lawn still have space to play? Does the planting layout leave room for visibility, pets, or snow storage?
Checkpoint: if the plan looks attractive but feels awkward in daily life, fix that now, not after installation.
Step 5: give feedback and request revisions
Revisions are normal. In fact, they are part of a healthy process.
- Review the concept carefully.
- Mark what you like first.
- Note specific changes you want.
- Tie comments back to function and budget.
- Review the updated version.
Point out what feels right first
Start with the parts you already like. Maybe the front walkway finally feels welcoming, the backyard layout makes sense, or the planting style fits your house. This keeps the design moving in the right direction and avoids changing good ideas just because everything still feels new.
Flag layout, plant, or feature changes clearly
Specific feedback works best. “The patio looks too tight for dining” is useful. “The privacy bed should block the neighbor’s deck view” is useful. “I want fewer varieties of plants and a cleaner look” is useful.
Vague reactions can be honest, but they are harder to act on. Translate the feeling into something visible or practical.
Balance wish-list changes with budget reality
Every major change has ripple effects. A larger patio means more material, more labor, and maybe a shift in grading. Adding a retaining wall, outdoor kitchen, or expanded lighting package can change the whole estimate.
That does not mean you should not ask. It just means late additions usually cost more than early planning.
Step 6: finalize materials, plants, and key details
Once the layout is approved, the plan gets more specific.
- Select hardscape materials.
- Narrow the plant palette.
- Review drainage and lighting details.
- Confirm edging, steps, and finishes.
- Make sure the selections fit your goals and upkeep expectations.
Choose hardscape materials
Patios, walkways, walls, and steps do a lot of heavy lifting visually. Material choices affect the style, the durability, the texture underfoot, and the maintenance load.
Concrete pavers, natural stone, gravel, and wall block each create a different feel. The best choice is usually the one that matches your home, handles your site conditions, and fits the budget without forcing shortcuts elsewhere.
Select plants for your site and lifestyle
Plant choices should come from your site first and your preferences second. Sun exposure, drainage, deer browsing, mature size, and seasonal interest all matter.
Lifestyle matters too. If you want color all season and enjoy tending beds, say so. If you want a cleaner, easier planting plan that mostly behaves itself, say that just as clearly.
Refine lighting, drainage, and finishing elements
Lighting, drainage, edging, and similar details often decide whether a project simply looks good or actually works. Path lights improve safety. Drainage protects hardscape and plantings. Edging keeps beds neat.
These details are not glamorous, but skipping them is like buying a nice coat with a broken zipper.
Step 7: review the final design, estimate, and scope of work
Before installation begins, look at the full package carefully.
- Review the final plan.
- Read the scope of work line by line.
- Confirm what is included and excluded.
- Compare selections to the estimate.
- Approve the project only after it all makes sense.
Understand the design plan and supporting documents
Depending on the project, you may receive a scaled plan, planting layout, material notes, drainage notes, and construction details. The main goal is clarity. You should be able to see what goes where and understand the basic intent behind it.
Go line by line through the estimate
Read the estimate slowly. Look for allowances, optional upgrades, and phased items. Make sure quantities and materials match what you discussed.
Checkpoint: if you cannot tell what you are paying for, the scope is not clear enough yet.
Talk through phasing if needed
Phasing can be a smart move, especially for larger projects. You can handle drainage, grading, and core hardscape first, then add planting, lighting, or secondary features later.
Done well, phasing feels intentional, not unfinished.
Step 8: prepare for installation and scheduling
Once the design is approved, the focus shifts from planning to execution.
- Confirm the expected start window.
- Review permits or approvals if needed.
- Clear access and move outdoor items.
- Ask how the site will be staged.
- Prepare for temporary mess and noise.
Confirm timing, permits, and approvals
Some features may require permits or approvals, especially walls, drainage work, or structural elements. Seasonal timing matters too. A wet spring or stretched contractor calendar can shift the schedule.
Get the property ready for the crew
Move planters, furniture, hoses, toys, and anything fragile from work areas. Make access paths clear. If the crew needs gate access or driveway space for materials, plan for that ahead of time.
Know what to expect during the build
Construction is not pretty in the middle. There may be mud, noise, stacked material, and days when the space looks worse before it looks better. That is normal.
What matters is steady progress and a clear scope.
Common issues that can slow down the landscaping design process
A few problems show up again and again.
Changing the scope halfway through
Late additions can trigger redesign work, new pricing, different materials, and scheduling delays. Big changes are easiest before the concept gets locked in.
Unclear budget or competing priorities
If your goals point one way and your budget points another, the design can stall. Clear priorities solve a lot of that tension.
Site surprises and seasonal delays
Buried roots, poor drainage, utility conflicts, and wet weather can all affect timing. In places like Mt. Lebanon or Cranberry Township, a rainy spring can slow site work more than anyone wants.
Troubleshooting: what to do if the process feels overwhelming
If too many decisions pile up, simplify.
If you don’t know your style yet
Focus on function and feeling first. Do you want neat and structured, soft and natural, or low-maintenance and clean? That is enough to narrow the look.
If the estimate comes in higher than expected
Trim scope before trimming the core idea. Reduce square footage, phase the work, or swap materials before cutting the features that make the plan work.
If you’re worried about maintenance
Ask for simpler plant groupings, fewer specialty materials, and a layout that is easy to edge, mow, and care for. Lower maintenance should be designed in, not wished into existence later.
What the finished result should look like
At the end of a solid landscaping design process, you should have more than a nice-looking drawing. You should have a plan that fits your property, solves the biggest problems, respects your budget, and works with the way you actually live.
That is the difference between a yard that photographs well and a yard that feels good on a Tuesday evening in July.
Your next step: get ready for a smoother project
Start small. Write down your top three priorities, save five photos you like, and note one thing your yard needs to do better. That simple prep makes your first consultation sharper, faster, and a lot more useful.
- Disclaimer: This article is for general informational purposes only. It is not professional advice, a quote, or a service agreement. Conditions at your home or property may differ; contact a qualified professional for an on-site evaluation before making repair, safety, or spending decisions.
Disclaimer: This article is for general informational purposes only. It is not professional advice, a quote, or a service agreement. Conditions at your home or property may differ; contact a qualified professional for an on-site evaluation before making repair, safety, or spending decisions.